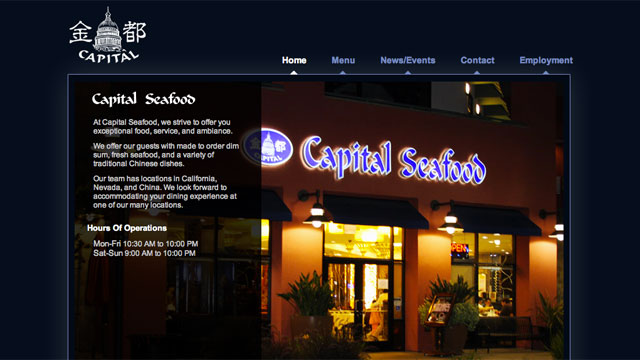
Capital Seafood offers made to order dim sum, fresh seafood, and a variety of traditional Chinese dishes.

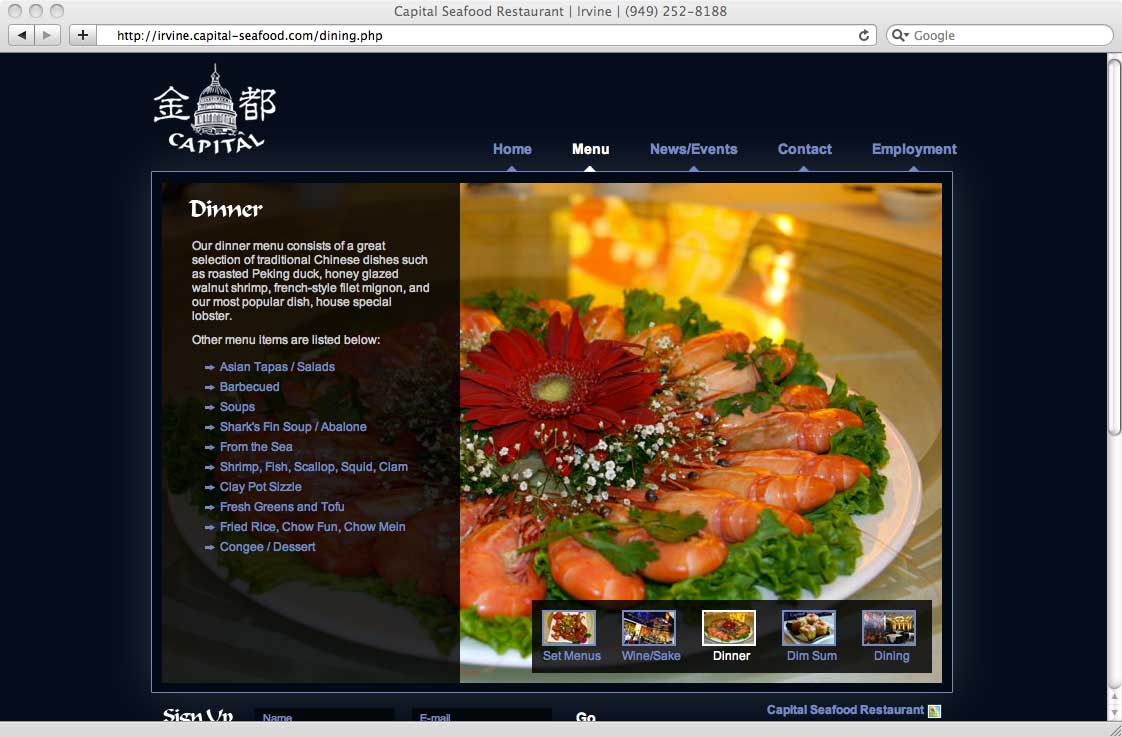
Technology: PHP, JQuery, CSS, HTML

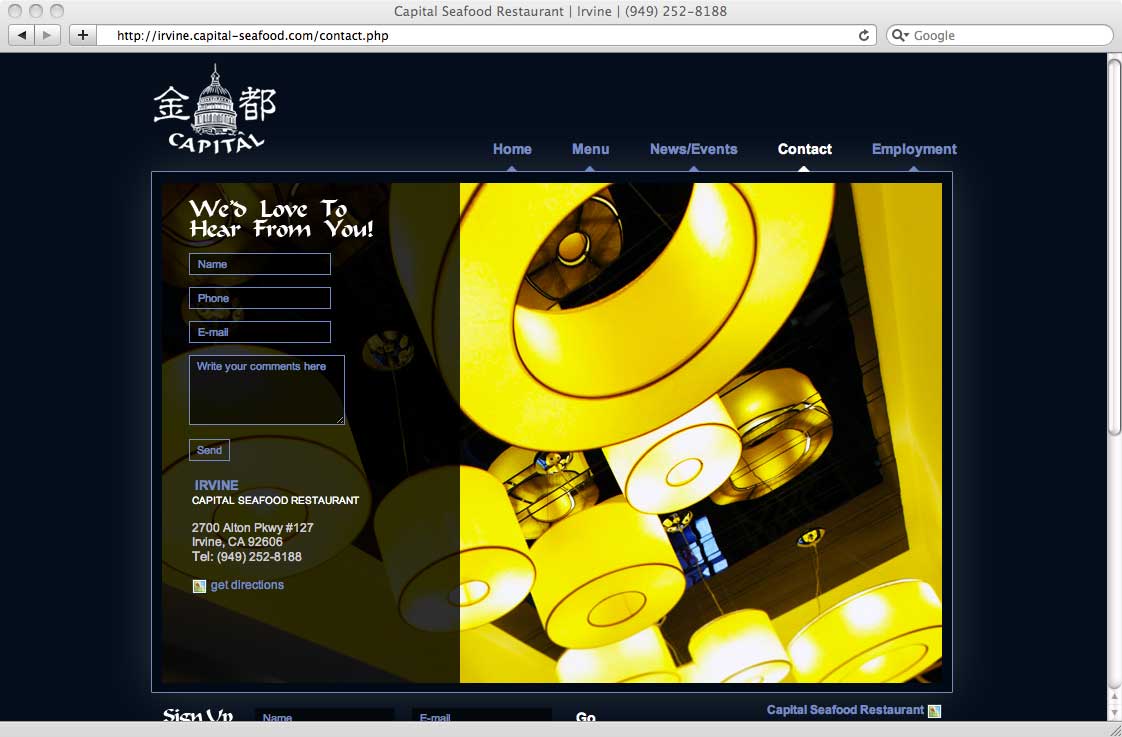
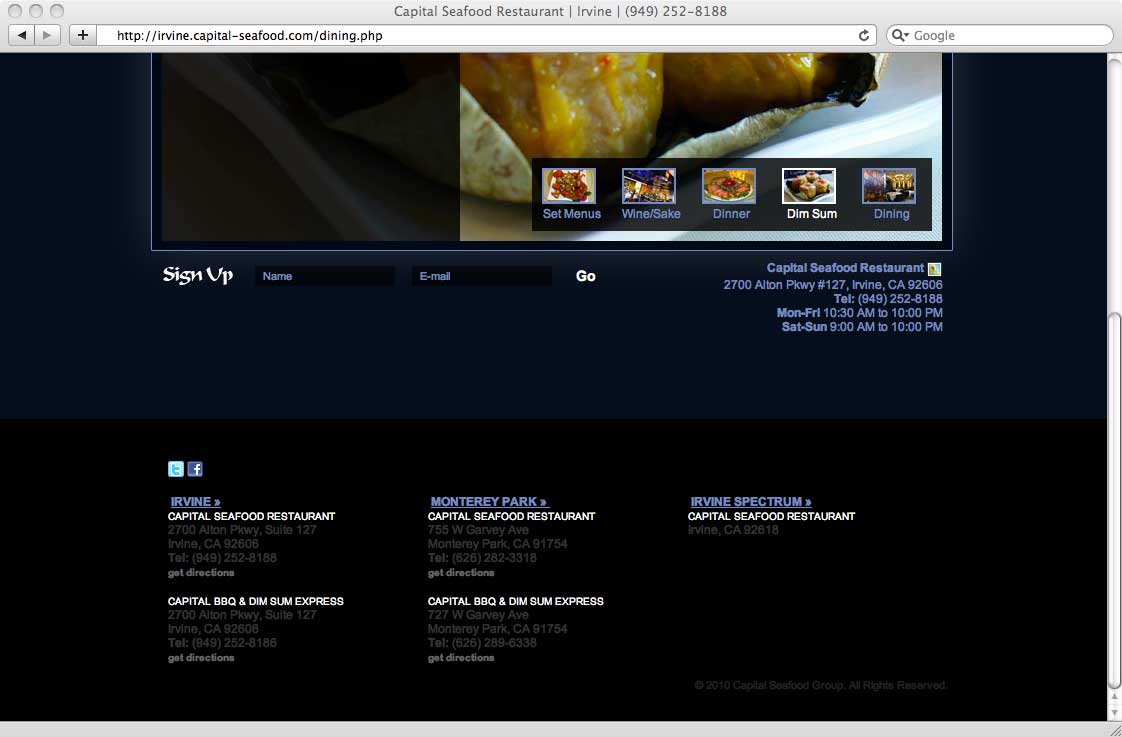
Capital Seafood offers made to order dim sum, fresh seafood, and a variety of traditional Chinese dishes.
Technology: PHP, JQuery, CSS, HTML

One of the most highly publicized communities in the BMW and Euro Arena, MFest has been featured multiple times in publications such as Bimmer Magazine, Heavy Hitters, European Car, Eurotuner, Performance BMW, Modified Luxury & Exotics, local newspapers and much more!
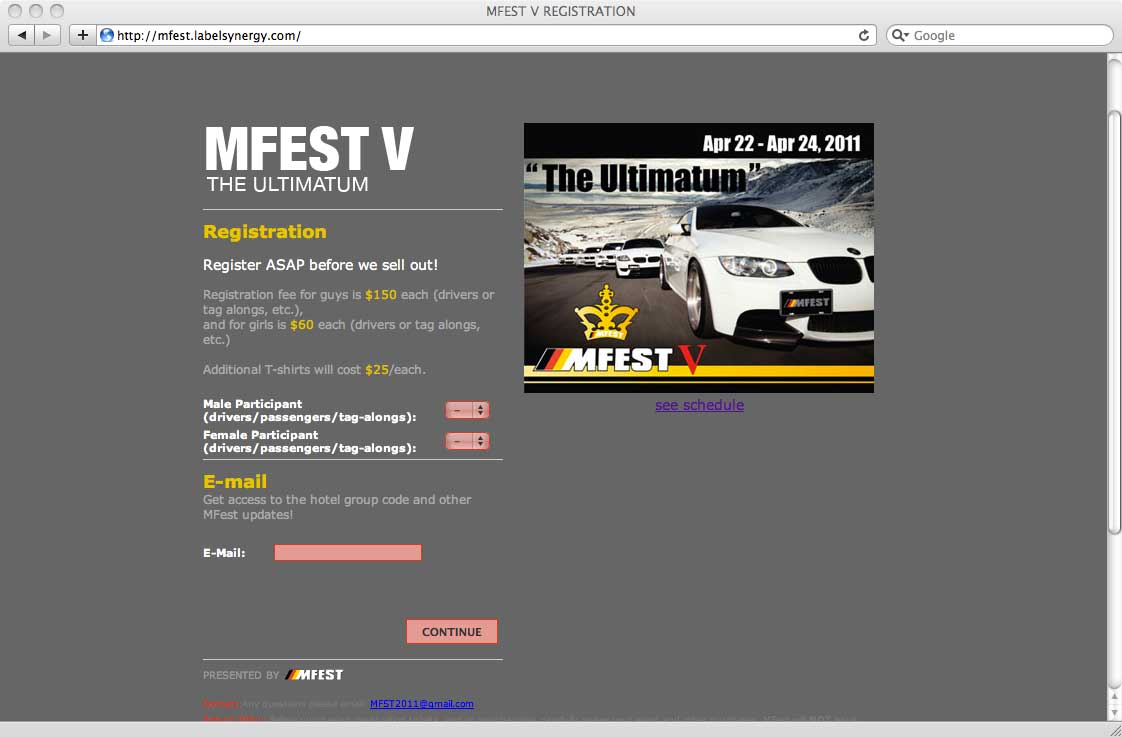

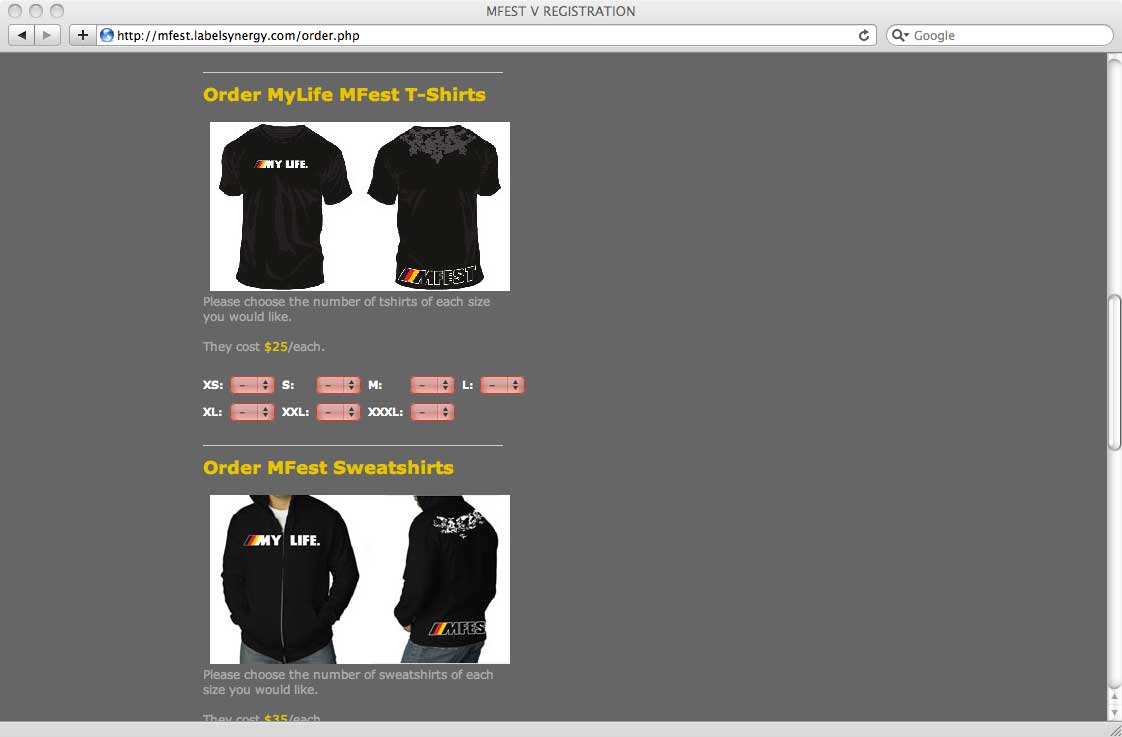

Technology: PHP, JS, CSS, HTML, Google Checkout integration, Paypal integration
I’ve been playing with this concept of circles and I think I’ve gotten a good handle of it.
The difference between facebook and google+ is that now you can decide who you want to see your sharing. This is awesome in the sense that if I had a drunken picture and I didnt want my family or work people to see, then I would only select my select group of friends.
The problem is that with such granularity, its not so simple as just posting, Now you have to decide what you are sharing. In most cases, you would want to share to everyone, and only some things you need to be more private about.
So here is one way to create your circles:
1. All Friends (create a new circle)
2. Work (create a new circle)
3. Family
4. Social group 1 (create a new circle, name it what you want)
5. Social group 2 (create a new circle, name it what you want)
6. Social group 3 (create a new circle, name it what you want)
etc…
Its easy to move a single friend down to a circle, but after I’ve separated them into granular groups, how do i create an All Friends circle?

1. Click on the target circle (lets say social group 1) – this will bring up a modal with a list of friends. from here you cannot drag into your All Friends circle, so you want to choose “View circle in tab”

2. Now the friends all display in the top portion of your screen and you are able to drag them to your circles. Now from the More actions > Select all – this will select all your friends.

3. Now you can drag all those friends into your All Friends circle. Google is smart enough to ignore the ones that are already in that circle.
With this concept, you can create “super” groups of the more granular groups, so you dont have to keep selecting multiple granular groups everytime you want to share to more people.
the smart way to do a redirect to something more permanent is not to do:
//standard re-direct
httpServletResponse.sendRedirect(newTargetUrl);
but do this instead:
//set to 301
httpServletResponse.setStatus(HttpServletResponse.SC_MOVED_PERMANENTLY);
httpServletResponse.setHeader("Location", newTargetUrl);
httpServletResponse.setHeader("Connection", "close");
the difference is that instead of sending a default 302, we are sending a 301, which is more seo and bot friendly. i would suspect that you would only use this in a case where the origination url is always going to goto the new target url, otherwise keep using the regular way.
This is probably an old topic, but I still find others including myself making these mistakes, so I thought I would write about it.
Everyone should know what a singleton is, usually used when you need one instantiation of an object across the system.
public class BadSingleton
{
	private static BadSingleton _instance;

	public static BadSingleton getInstance()
	{
		if(_instance==null)
		{
			_instance = new BadSingleton();
		}

		return _instance;
	}

	private BadSingleton()
	{
		//do initializations here
	}
}
This came about as an optimization for early JVMs, in the modern world – this is a bad practice.
public class VeryBadSingleton
{
	private static VeryBadSingleton _instance;

	public static VeryBadSingleton getInstance()
	{
		if(_instance==null)
		{
			synchronized(VeryBadSingleton.class)
			{
				if(_instance==null)
				{
					_instance = new VeryBadSingleton();
				}
			}
		}

		return _instance;
	}

	private VeryBadSingleton()
	{
		//do initializations here
	}
}
public class CorrectSingleton
{
	private static CorrectSingleton _instance;

	public synchronized static CorrectSingleton getInstance()
	{
		if(_instance==null)
		{
			_instance = new CorrectSingleton();
		}

		return _instance;
	}

	private CorrectSingleton()
	{
		//do initializations here
	}
}
Initially I had a lot of issues getting this jailbreak to work, but after I found some more info, it now works.
At first I was getting the issue:
Unable to find gBdevList

Unable to find fs_mount

Unable to find fs_unmount

Unable to find fs_load_file
but after following these directions, it works:

if you need a place to download greenpois0n you can go here:
downloads.gregtam.com
I’ve been messing with vms on the mac for the longest time. Ive always been disappointed with Parallels Desktop, it runs so slowly. I had a Win 7 VM, and it would literally take 10 minutes to start up on my Apple Macbook Pro 2.26 Core2Duo running OS X 10.6 and at the same time bring my computer to a grinding halt.
VMware Fusion 3.0.0, I just installed today and converted my Parallels Desktop 5 Win 7 vm to vmware, and now my computer still takes a while to load the vm, but it no longer kills my computer.
I definitely recommend VM over Parallels.
Is your gmail getting cluttered? are you nearing the upper echelon of capacity?
Some tips on getting rid of email
you should now have more valuable email space to store all sorts of goodness.

I just cracked my ipad 3.2.2 with limera1n
Here are a few tips on what to do once your ipad/iphone/itouch is jailbroken
i dont recommend downloading winterboard just yet, as it is not ready for ipad yet.
invalid IPA error
if your getting this error, it means that most likely you either have to update appSync or you havent allowed the files to fully download. installo.us is an iOS app and thus does not have multithreading capabilities like the appStore. this means that you have to keep installo.us open when downloading and you cant close it like you do the appStore.
How to Setup Hotmail ActiveSync on iPad device
Microsoft has provided steps for enabling Hotmail ActiveSync on iPad devices.
1. ON the Home Screen, tap Settings >“Mail, Contacts, Calendar” > “Add Account” > “Microsoft Exchange”
2. Enter the following in fields:
Email: your full Hotmail email address
Domain: Leave blank
Username: your full Hotmail email address
Password: your password
Description: Hotmail
Server: m.hotmail.com
SSL: Enabled
Certificate: Accept the SSL certificate when prompted
Mail, Contacts, Calendar, Tasks: All can be enabled.
3. After finishing the configure, select the data to sync and tap on Save button.
iPad will connect to Hotmail ActiveSync and perform an initial sync for the selected data. You are able to push email, calendar, and contacts with Exchange ActiveSync now.